|
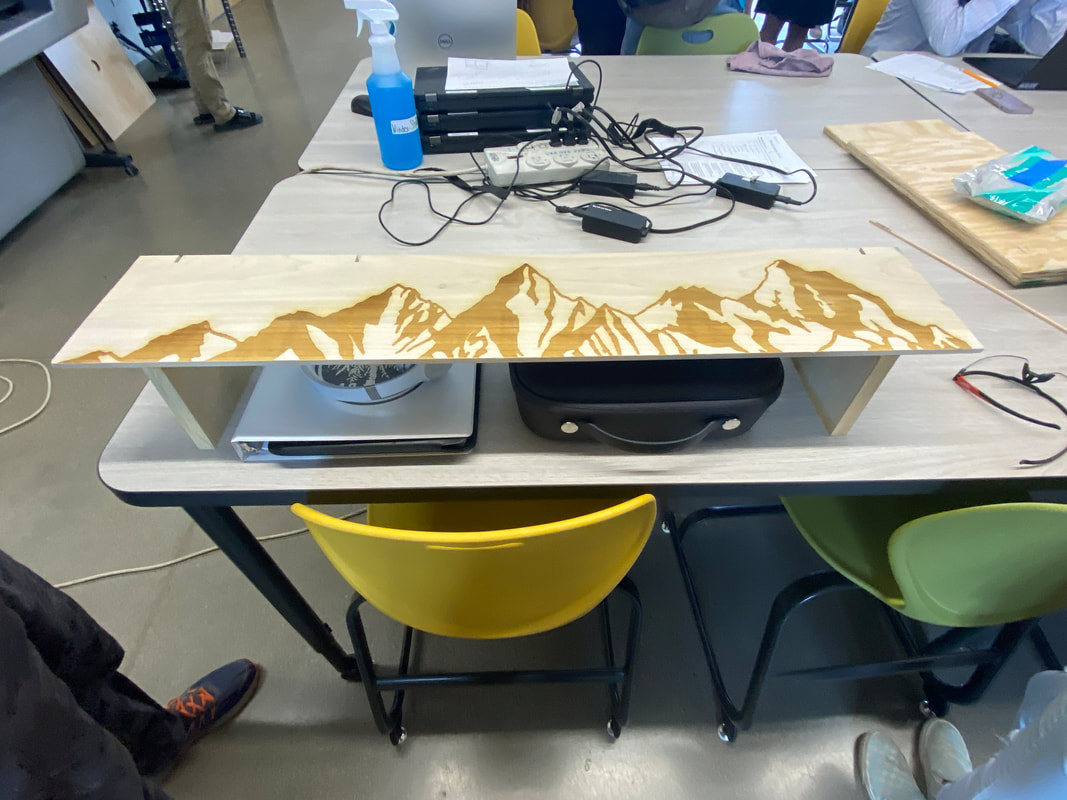
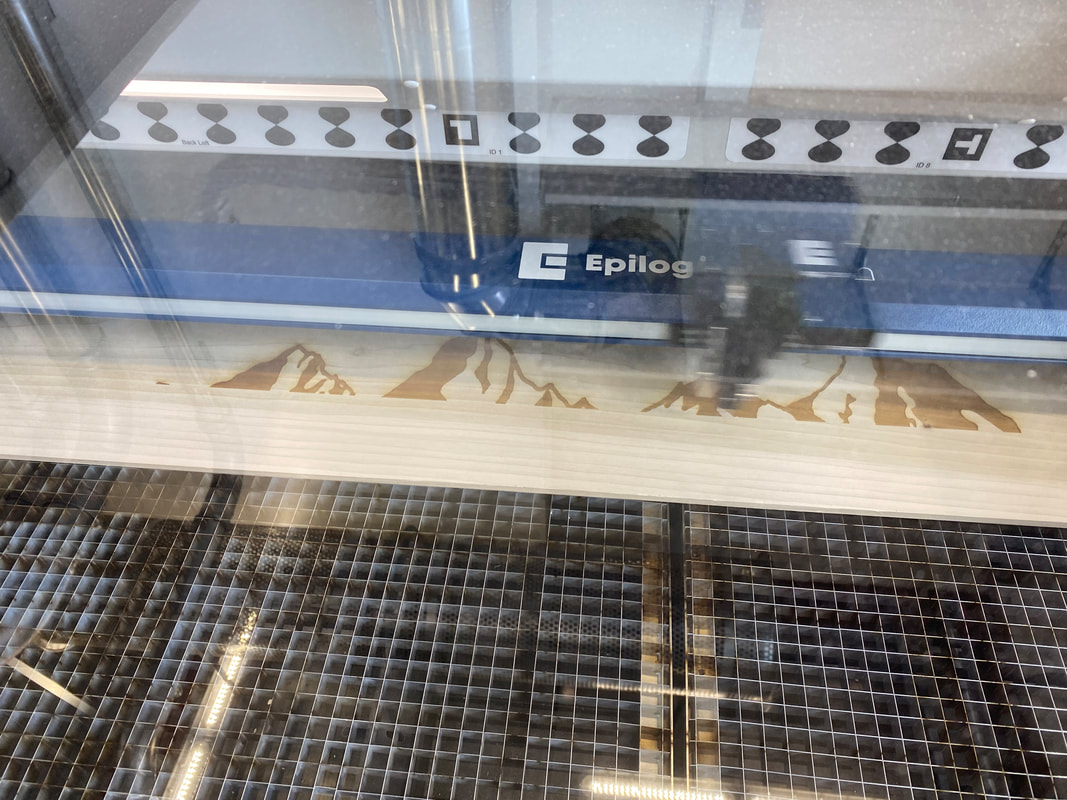
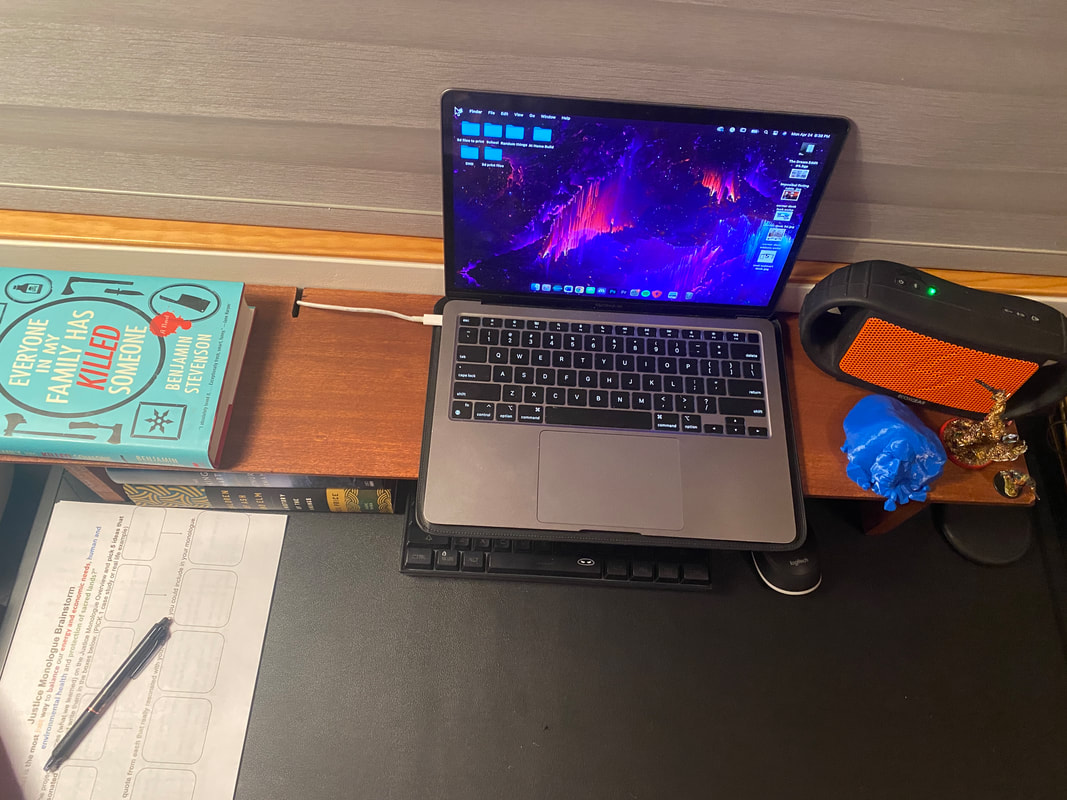
To create the final project I used the original template for the prototype with some small changes. To start off with I added more height to the build so that I can add more storage for books, small boxes, and soda can's. The other new change that I added was a design on the top. by using the lazier cutter I engraved the wood with a cool design. The final change that I had added was cutting out groves for cables in the back of the wood so that my computer charger would stop falling behind the desk.
0 Comments
The new project I am working on is one that will help me maximize space on my desk. My new project is making a small table that will sit on my desk and provide me with more space overall so that I can do homework while not obstructing my ability to work on my computer. I started by planing out the over all Idea. 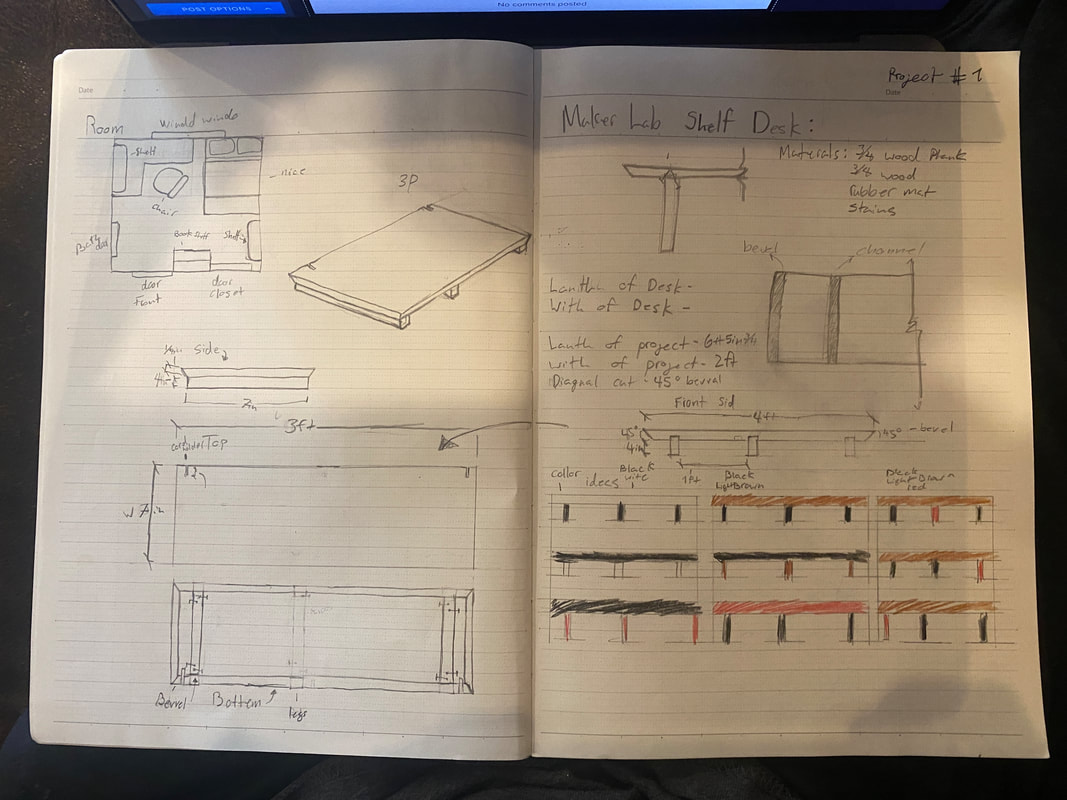 NesThe sketches are my rough Idea, the dimensions that I wanted the desk to be and the materials that I would want to work with. Materals:
Dementions:
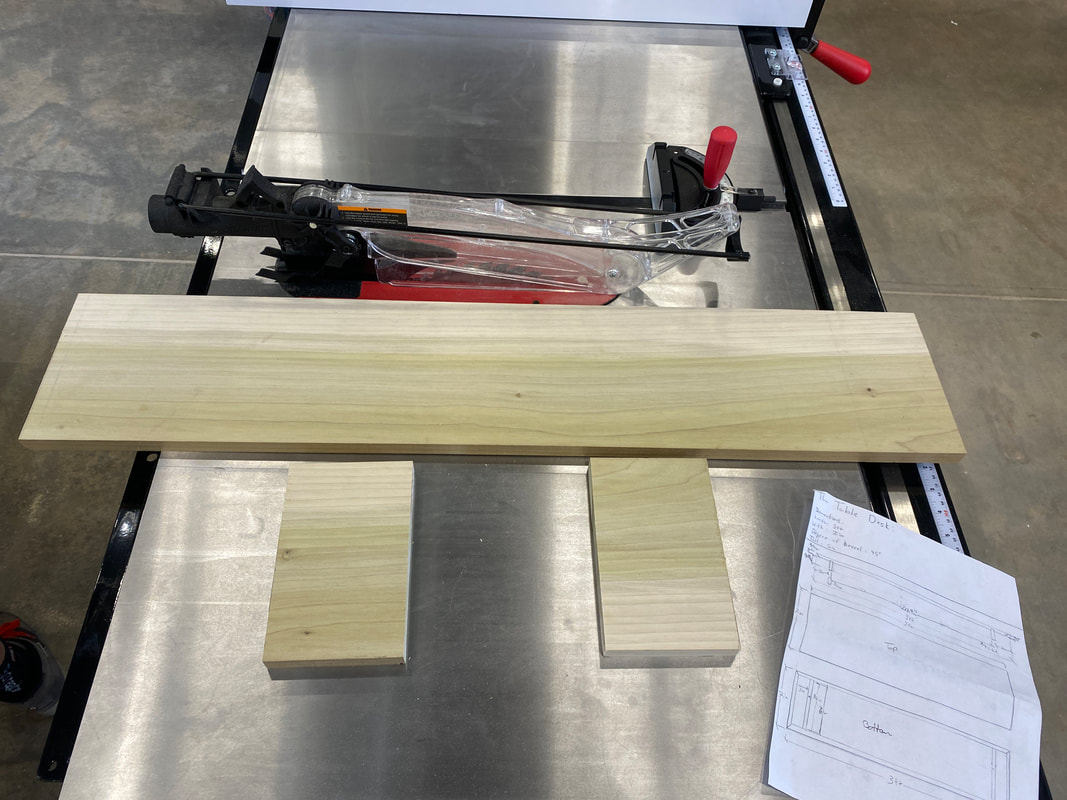 Next, I used the circular saw to cut the wood into sections that I would want to use as legs and the table. 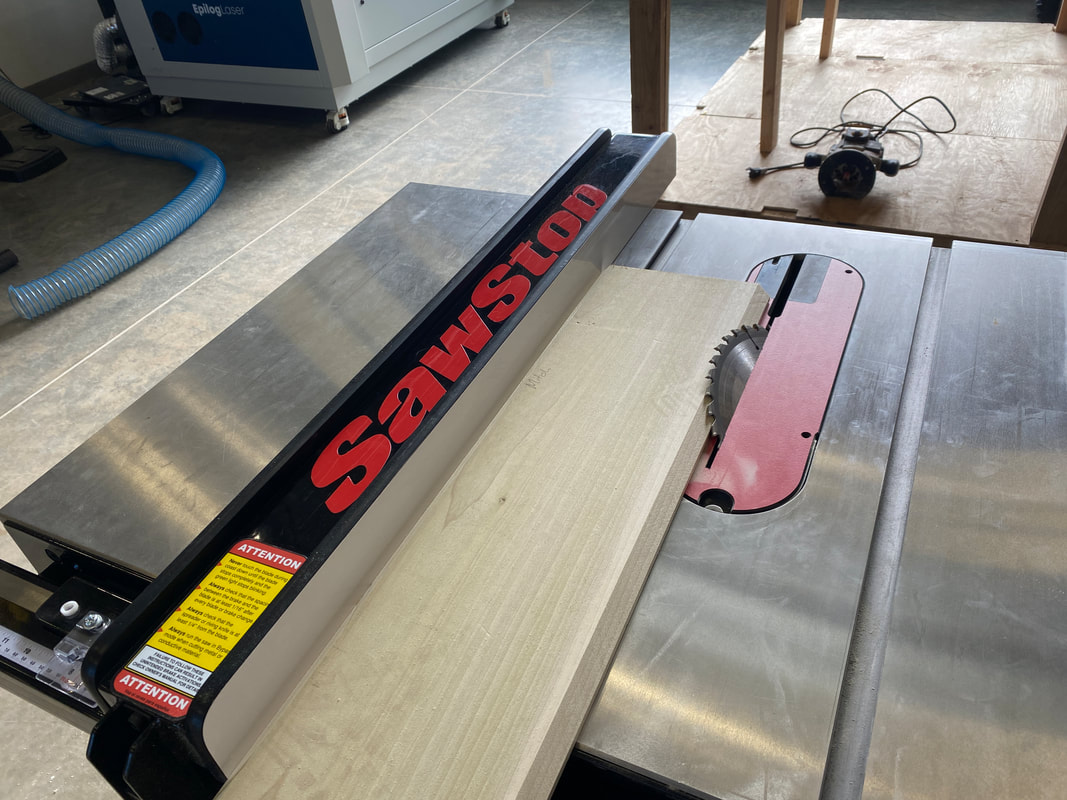 Then I used the table saw to cut the bevel for the leg slots and the bevel on the sides.
Finally, I added a cut into the table where a computer charger could slot in then stained the wood.
Finally, we finished the Chop Box. To wrap up the final stages we first finished adjusting the table legs to make sure that they were all level with one another. Then we cut out the inset for the lowered part of the chop box. We did this by setting the final table up and cutting directly the gap area for the chop box. Then with 2x4s, we made a support frame that would hold up the circular saw. the final thing we had to do next was screw in the table to the frames and sand it down. This project was amazing experience and during the time my group and I had spent on making this table I learned valuable things about craftsmen ship and design. Over all I am happy with how it turned out and I can't wait for the next project. 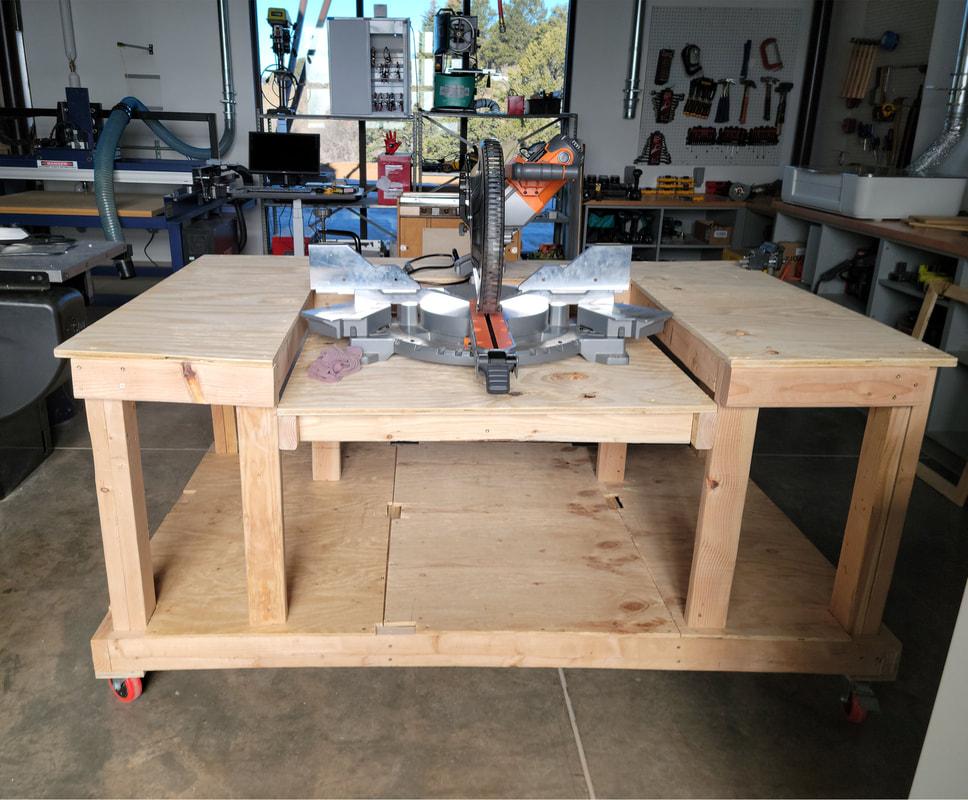 Animas high school has finally moved to the new building and its great. The new maker lab is amazing but does need some work. For the past couple weeks, I have been working with a group of amazing people to create a new table for a new bigger circular saw. We call the table the Chop box. 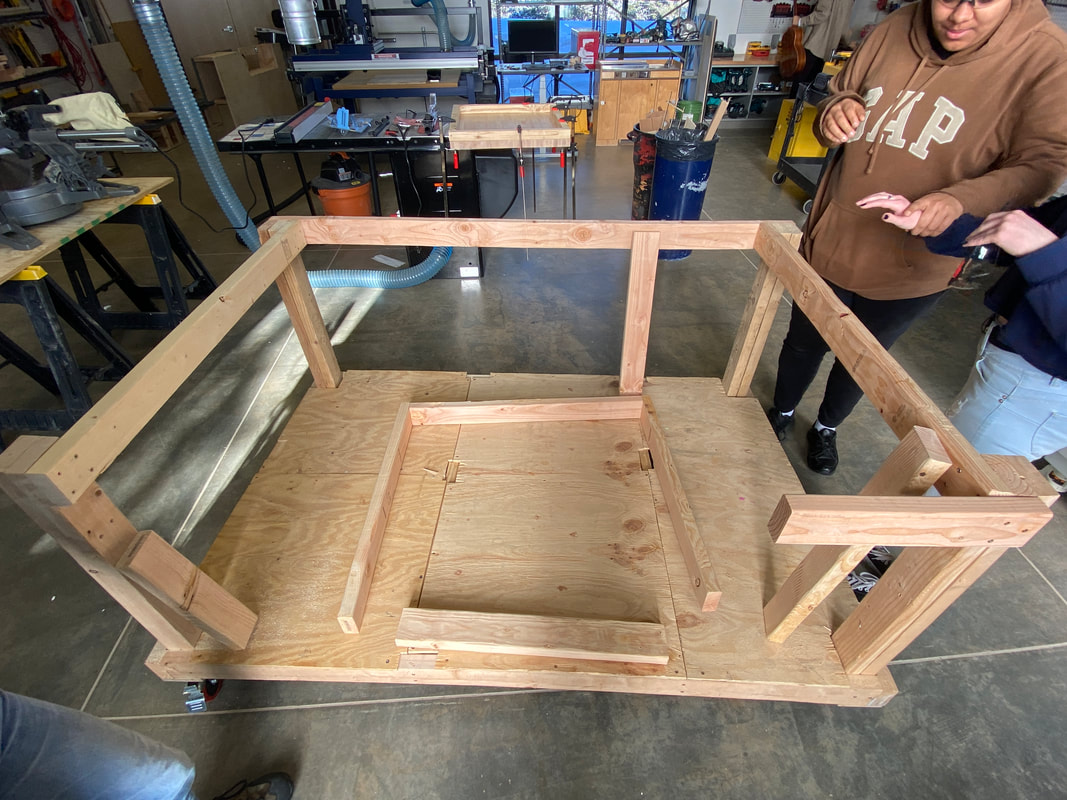 For the first few days of the project, we had to learn how to draw up plans so that we could pitch our designs to our maker lab teacher Farkas. By doing this we learned several ways that different things are shown on a blueprint had how to draw them ourselves. Once our plan was approved my group and I put together a materials list for our teacher.
Next, we got to work building the Chop Box. We started to gut the old Chop box for spare parts. After we took it apart we started to build the table. Finally we finished screwing on the table legs and started to screw on the final supports on the inside and outside of the table legs. They will provide support for the table that will sit on the top. We still have a lot to finish but we have gained the traction.
I have started a secret project to create a present for my math teacher Ande. For this project, I am creating a wooden Dungeons and Dragons Dungeon Master screen. I am creating this because he and I have started a D&D club after school. I am the veteran DM and Ande is new to the game. He has been starting to really get into it and he is getting ready to DM a campaign. A big part of the game is the mysterious DM who hides all their notes behind a DM screen. This is what I am making a wooden DM screen for him. I started the proses my measuring my DM screen and drawing it out on Hard Draft board. Then I started to cut the draft board and this is my first mistake. I cut the draft board but when it all was set down on the table many of the panels where off set. Then when I tried to fix this problem a new one arose. I was using the laser cutter to crate an and engraving on the two front panels they got off set. But things aren't all bad now all I have to do is redo the two front facing panels laser cutt a new engraving design and add leather to the hinged corner sides. Materials for the DM Screen -
Measurements for the DM Screen -
What I did this week was learning how to use the laser cutter. I started out learning the basics of the laser cutter like what materials I could cut with the laser. The different settings used for cutting and engraving. I mainly used the engraved figure to create one coster and two coins with a Dwarven Crest that I made. It started out ruff. When I was learning, the first fue prototypes didn't cut out evenly. After talking to a teacher they showed me that I could cut and engrave with the laser cutter at the same time. This is what made my final prints look amazing. The main material I used was hard draft board for the coins. Later I added sharply to the black spots to create a darker shade. Over all this experience with the laser cutter was amazing and I am now more confidant in my ability with the laser cutter. During this project of building the box, we ran into some complications. After we measured the out the sections of wood my engineering partner llew and I wanted then we started to cut the wood. We used the Skill Saw to cut the 5 peaces of wood we wanted. - The Bottom - The Right wall - The left wall - The back wall - The front wall 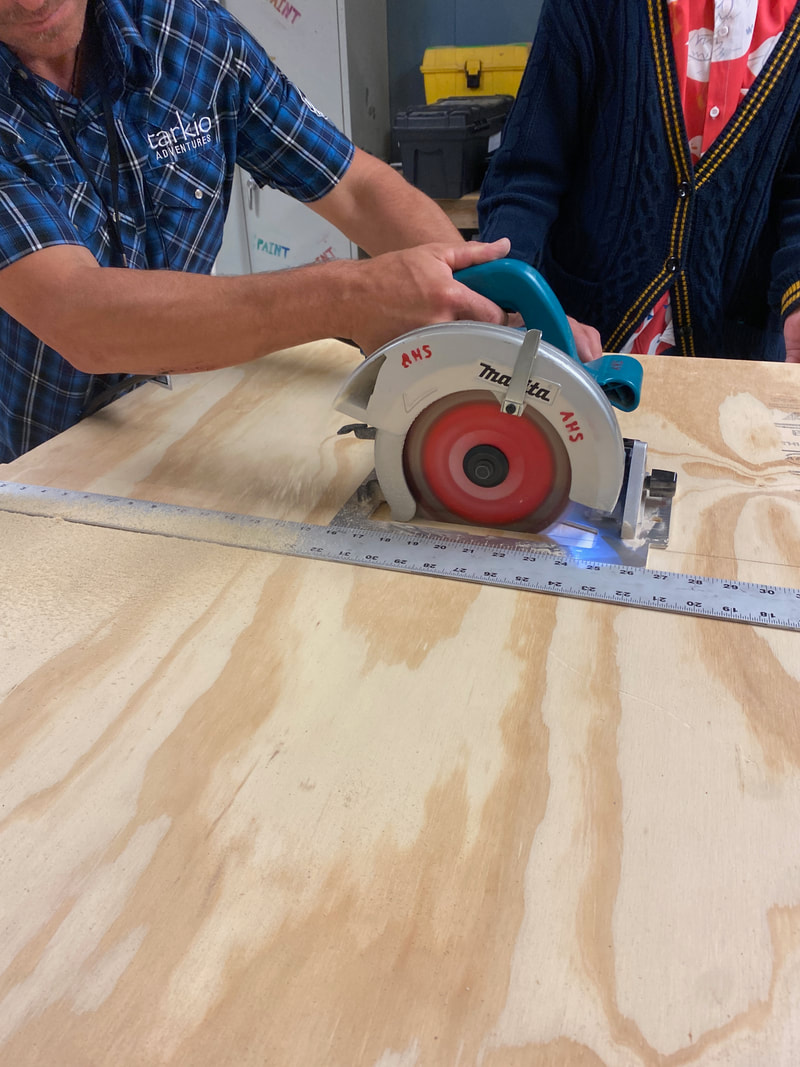 But there was a slight problem. I had measured all the pieces of wood wrong. This was a challenge to overcome. We had to shave off slight bits of the wood to make it all fit together. Then we started to align the peaces and drill holes to keep them together. The tools we used to drill the holes and keep the box together is, - Wood glue & - Pocket Drill Set Then came the time to sand. Above is an image of the Palm Sander that we used to sand the box completely to the point where no mater how hard you tried you couldn't get a splinter. This week I switched up what project I was doing. Instead of working on the camping bed I got switched to working on the van. Specifically now I am working on creating a drawer for underneath the bed in the van. What we have accomplished so far is creating a schematic for the drawer and sketching out the different areas on the board that we need to cut. Hight for all - 10 in With/ Length Bottom - 43 5/8s in/ 35 in With/ Length Corner 1 - 43 5/8 in/ 10 in With/ Length Corner 2 - 43 5/8 in/ 10 in With/ Length Back - 35 in/ 10 in With/ Length Front -35 in/ 10 in Theas are the lengths that we will be cutting and putting to gather to make the drawer. Today we got to meet with the client that asked us to create a bed and storage compartment in the bed of her truck. The first thing that we got to we asking her several questions about what she exactly wanted us to do as well as things like budget, layout, and what was most important to her that we get right. Once we finished asking questions we started to note the dimensions of the interior bed with a tape measure and pad of paper. The fowling dimensions where - Across Bed - 64 in Gate to Back - 63 in Wheel Well Across - 28 in Wheel Well With - 10 in Wheel Well High - 8 in Bed to Roof- 47 in Sleep pad 42 1/4 in Unfortunately we forgot to take some measurements such as, from back of bed to wheel well and wheel well to the end of the tail gate. But this will not pose a problem. At the moment the wheel well is not what we will be focusing on until we can get that final dimension. Tomorrow we will be getting a list of supply's for the build together and finishing a plan for construction. Today we focused on power tools with teeth. We started by getting familiar with how to work the Compounded Meter Saw. How to turn it on and off, rotate angles, and what was important to know before using it. Then we where able to use a ruler to mark cuts and then make them. Then we learned what do do and what not to do when working with the Table Saw. We where told not to use our hands when getting close to the saw blade and instead to use a different piece of wood or the tool that it came with to push the rest of your wood across. Finally we where told to start thinking about what we want to build tomorrow. |
AuthorWrite something about yourself. No need to be fancy, just an overview. Archives
May 2023
Categories |


 RSS Feed
